It’s been a long hard haul…

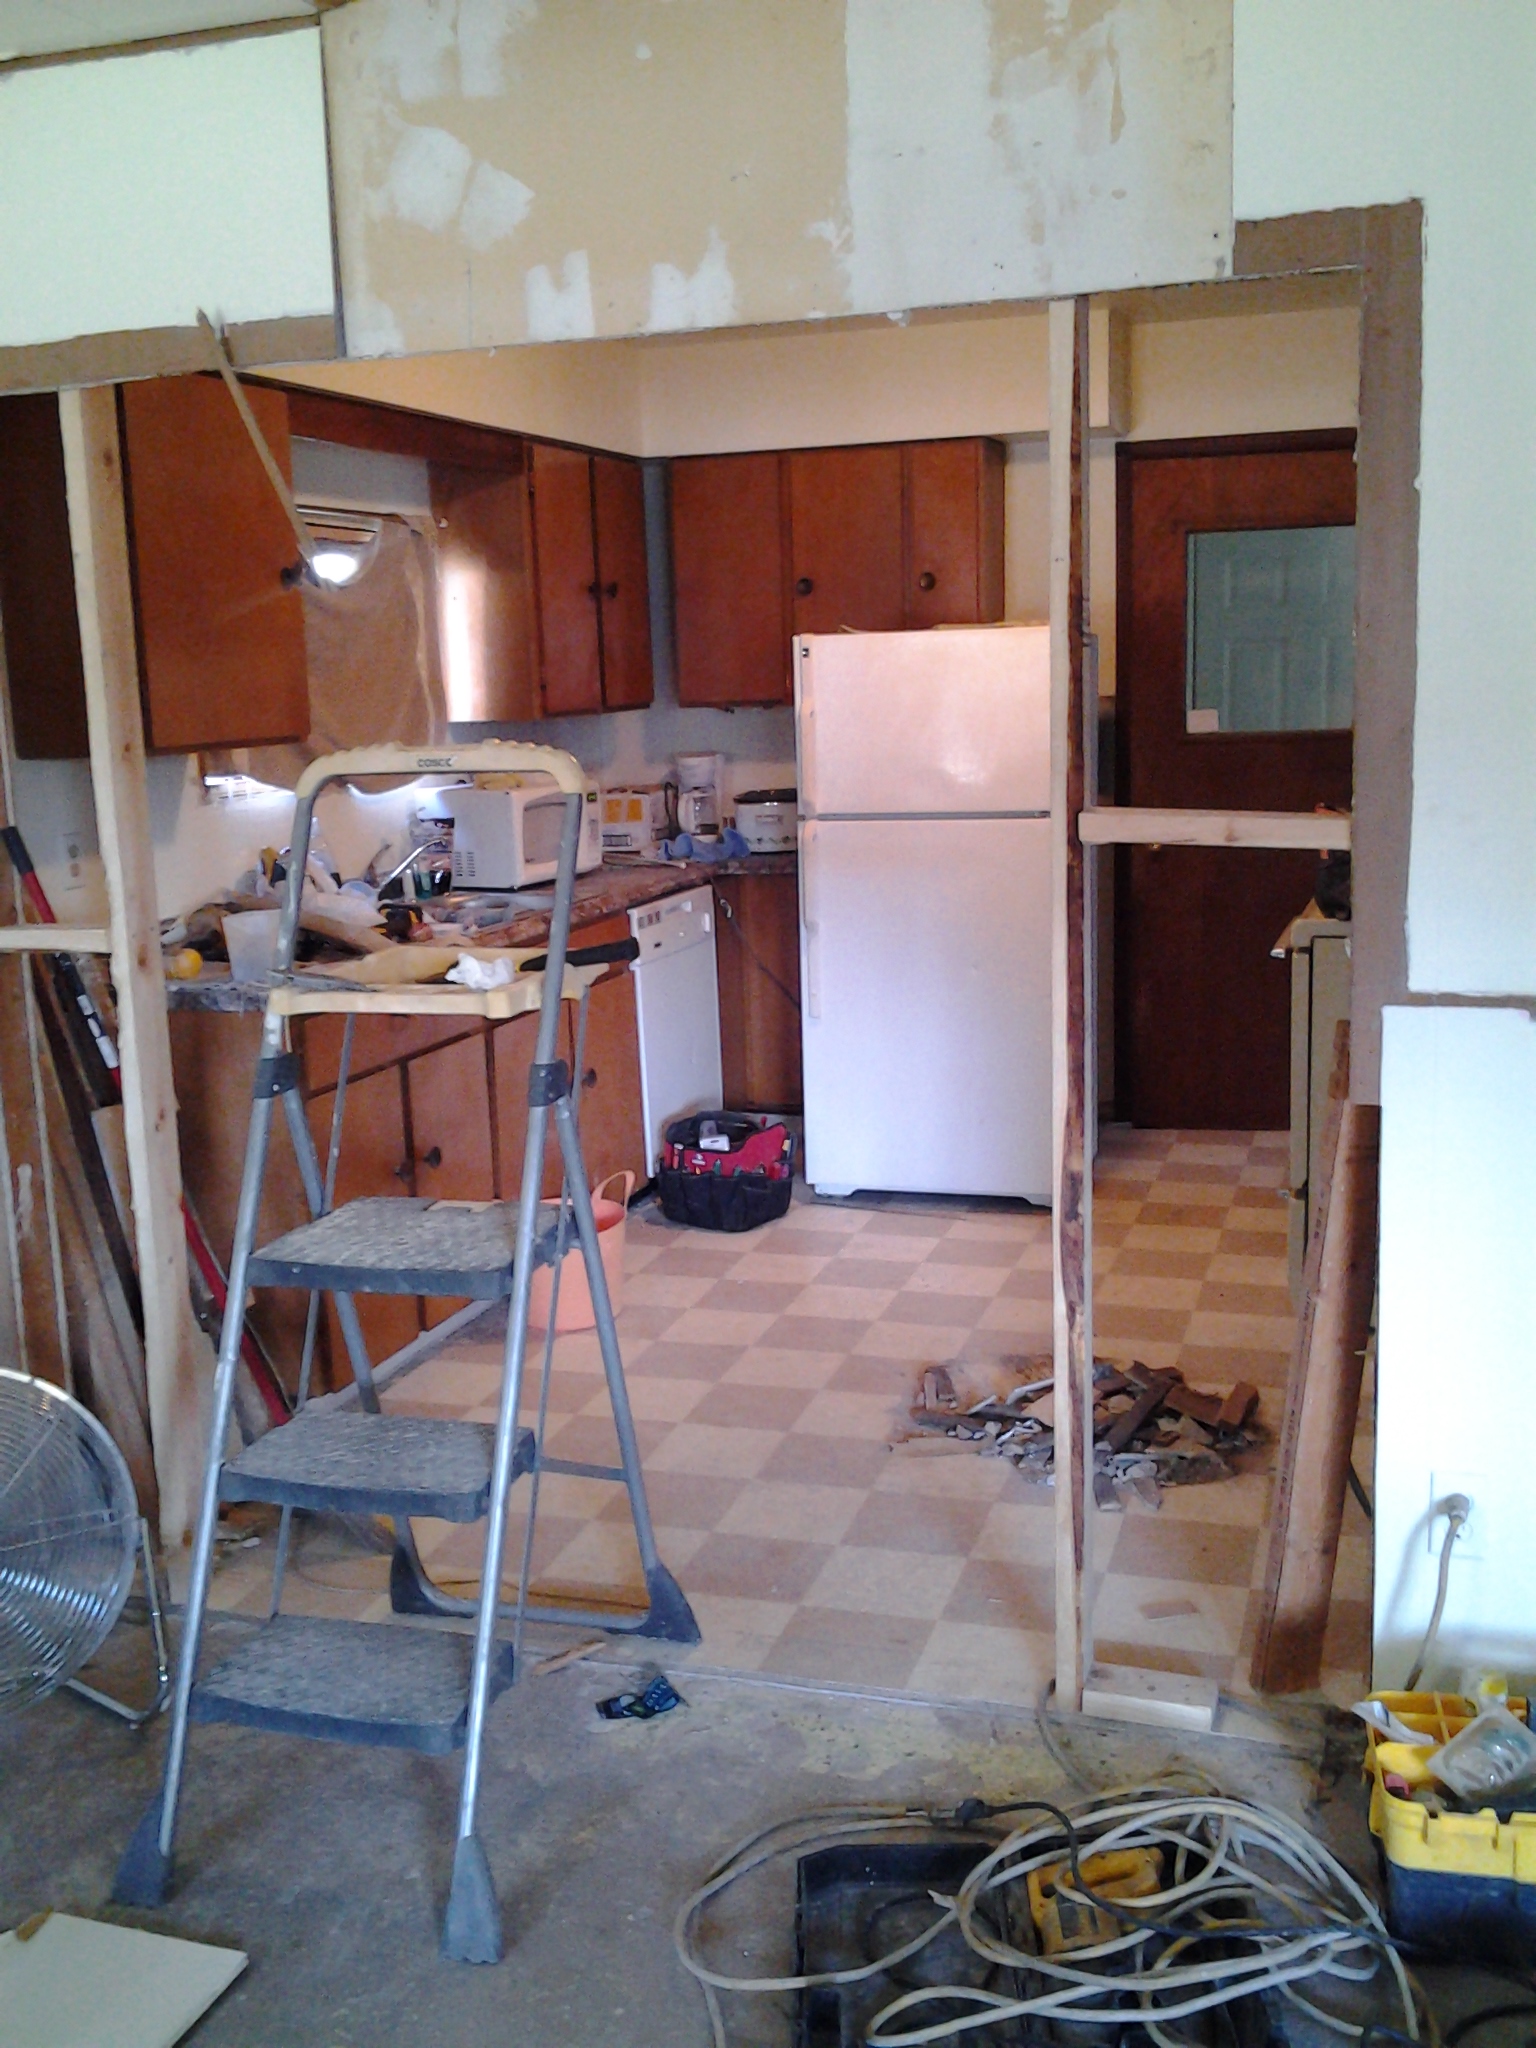
So I am terribly guilty of no follow through. How’s that for a starter sentence? Unfortunately it’s true. We started building our home last spring and for a bit, I was able to keep up and post our progression. Then the stress factor, health issues and discouragement kicked in. That’s just how life goes. So here is a quick catching up on the last year in the lives of Mr. HT and myself…


Soon after my last post, we had the walls mostly in and wrapped up the project for the winter. The metal roof was on, the water lines were in and some of the siding installed. We backed the truck, tractor and spare vehicles inside, locked everything up and started packing to leave for Yuma.

Every year, we drive south in our older model RV, a 1994 Fleetwood Flair.

100_2151

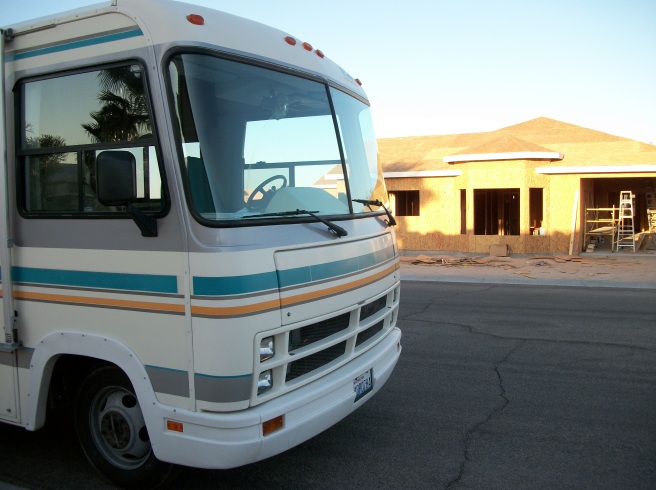
There are a lot of very nice upscale RVs on the road…ours is not one of them. Don’t get me wrong, Mr. HT does a grand job of maintaining this little jewel, she is in tip top shape for her age. But traveling for any length of time can be tight quarters, she is only 26′ and has no slides. But I think she has a lot more character than a more modern rig, more personal. With the ’84 Tercel we tow behind, we do look like the hillbillies are on the move, but we are comfortable and we didn’t break the bank getting set up.

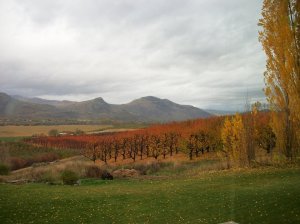
So here are some highlights of the trip and our stay last winter…

We kept that sweet little kitten and named him Hercule Poirot, aka Pip. Ends up he LOVES to travel! Pip had a grand time on our adventures. He met new kitties, explored the desert and became friends with the little dogs that live in our neighborhood…

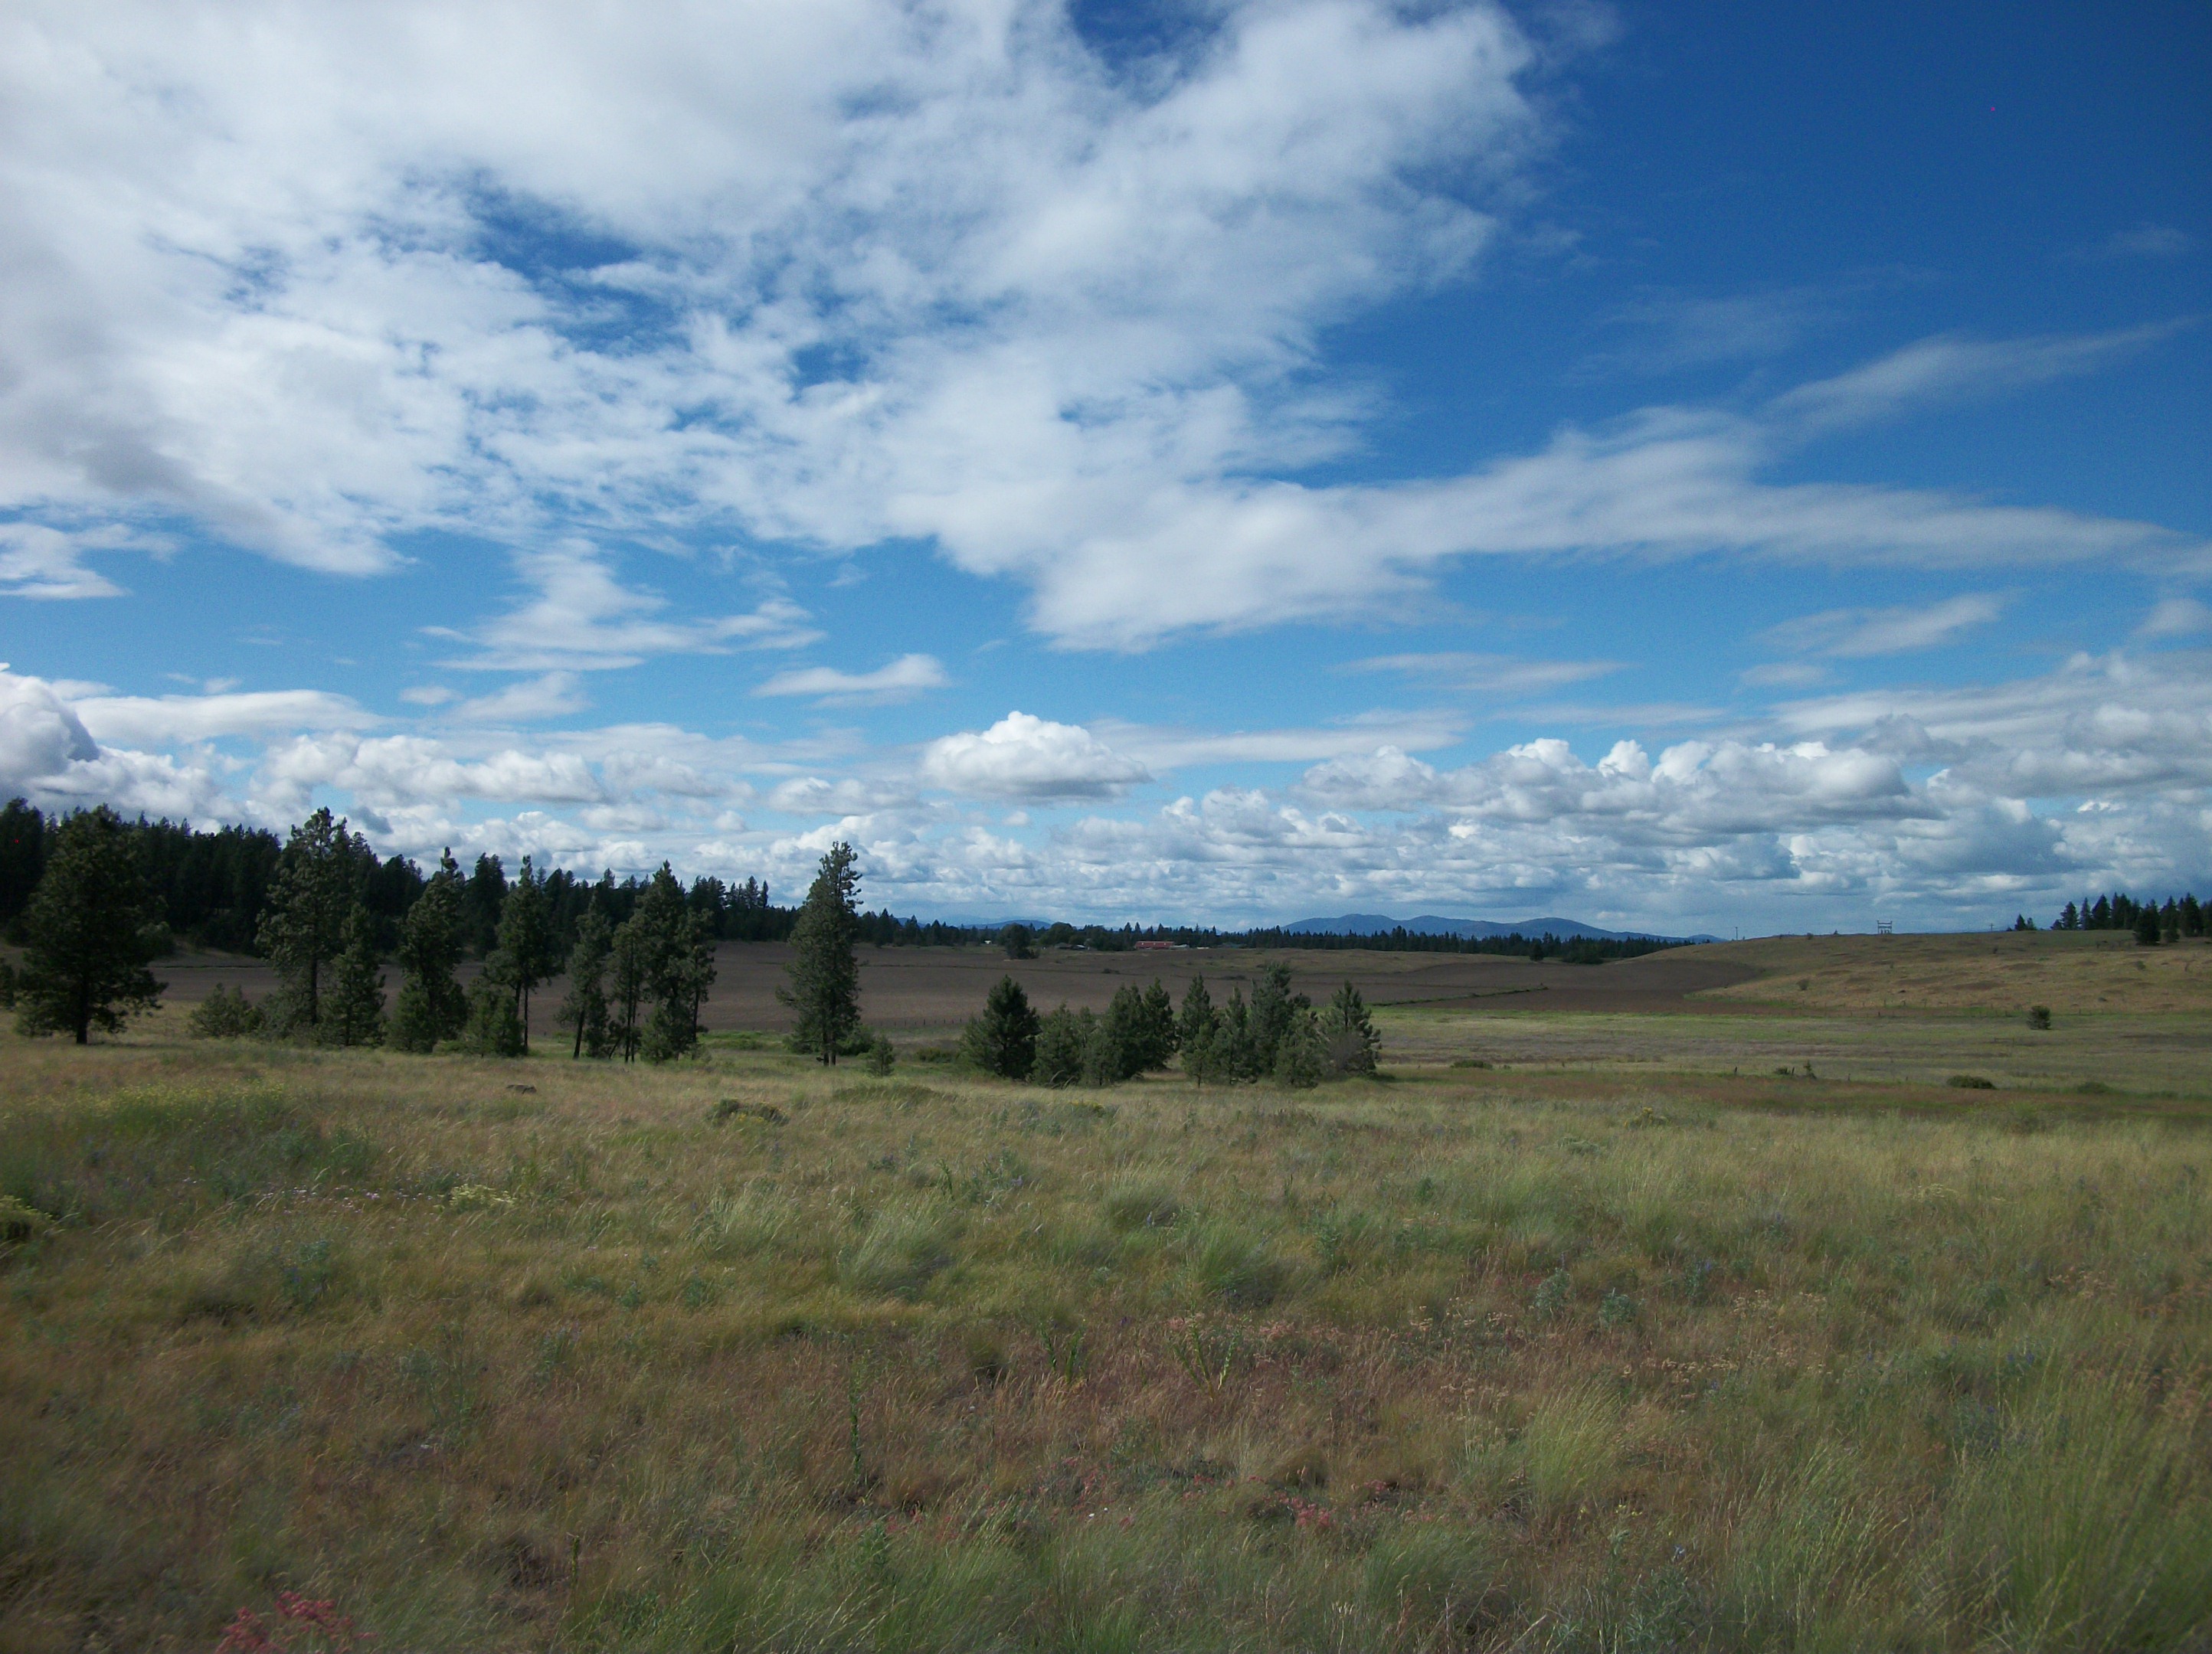
We visited Cochise Stronghold…

I painted a lot…

We visited the Yuma Territorial Prison…

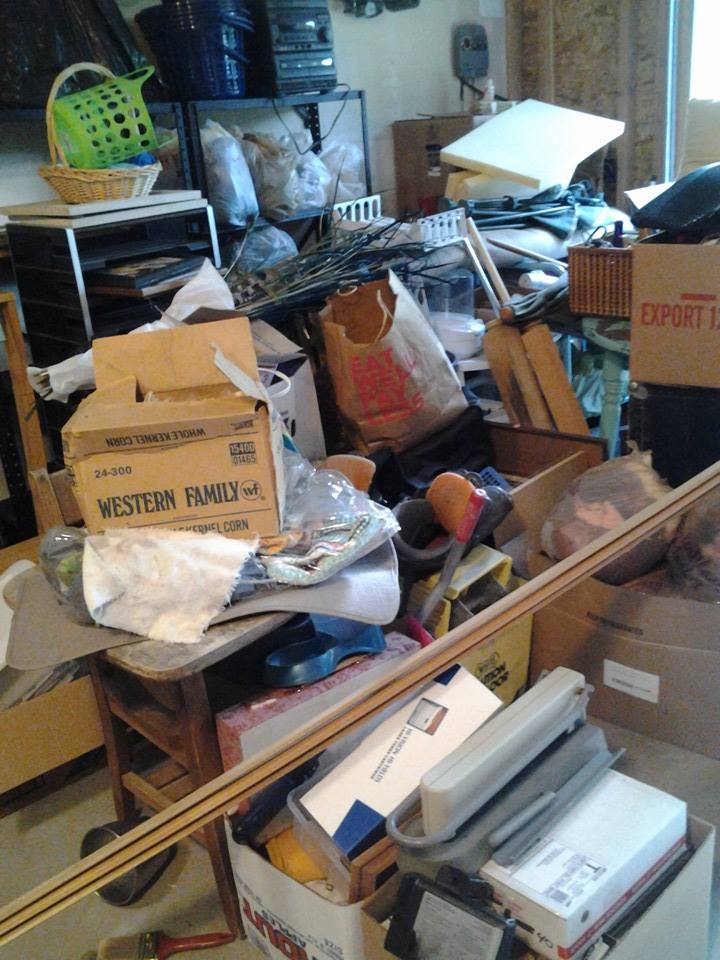
I spruced up the interior of the Flair…

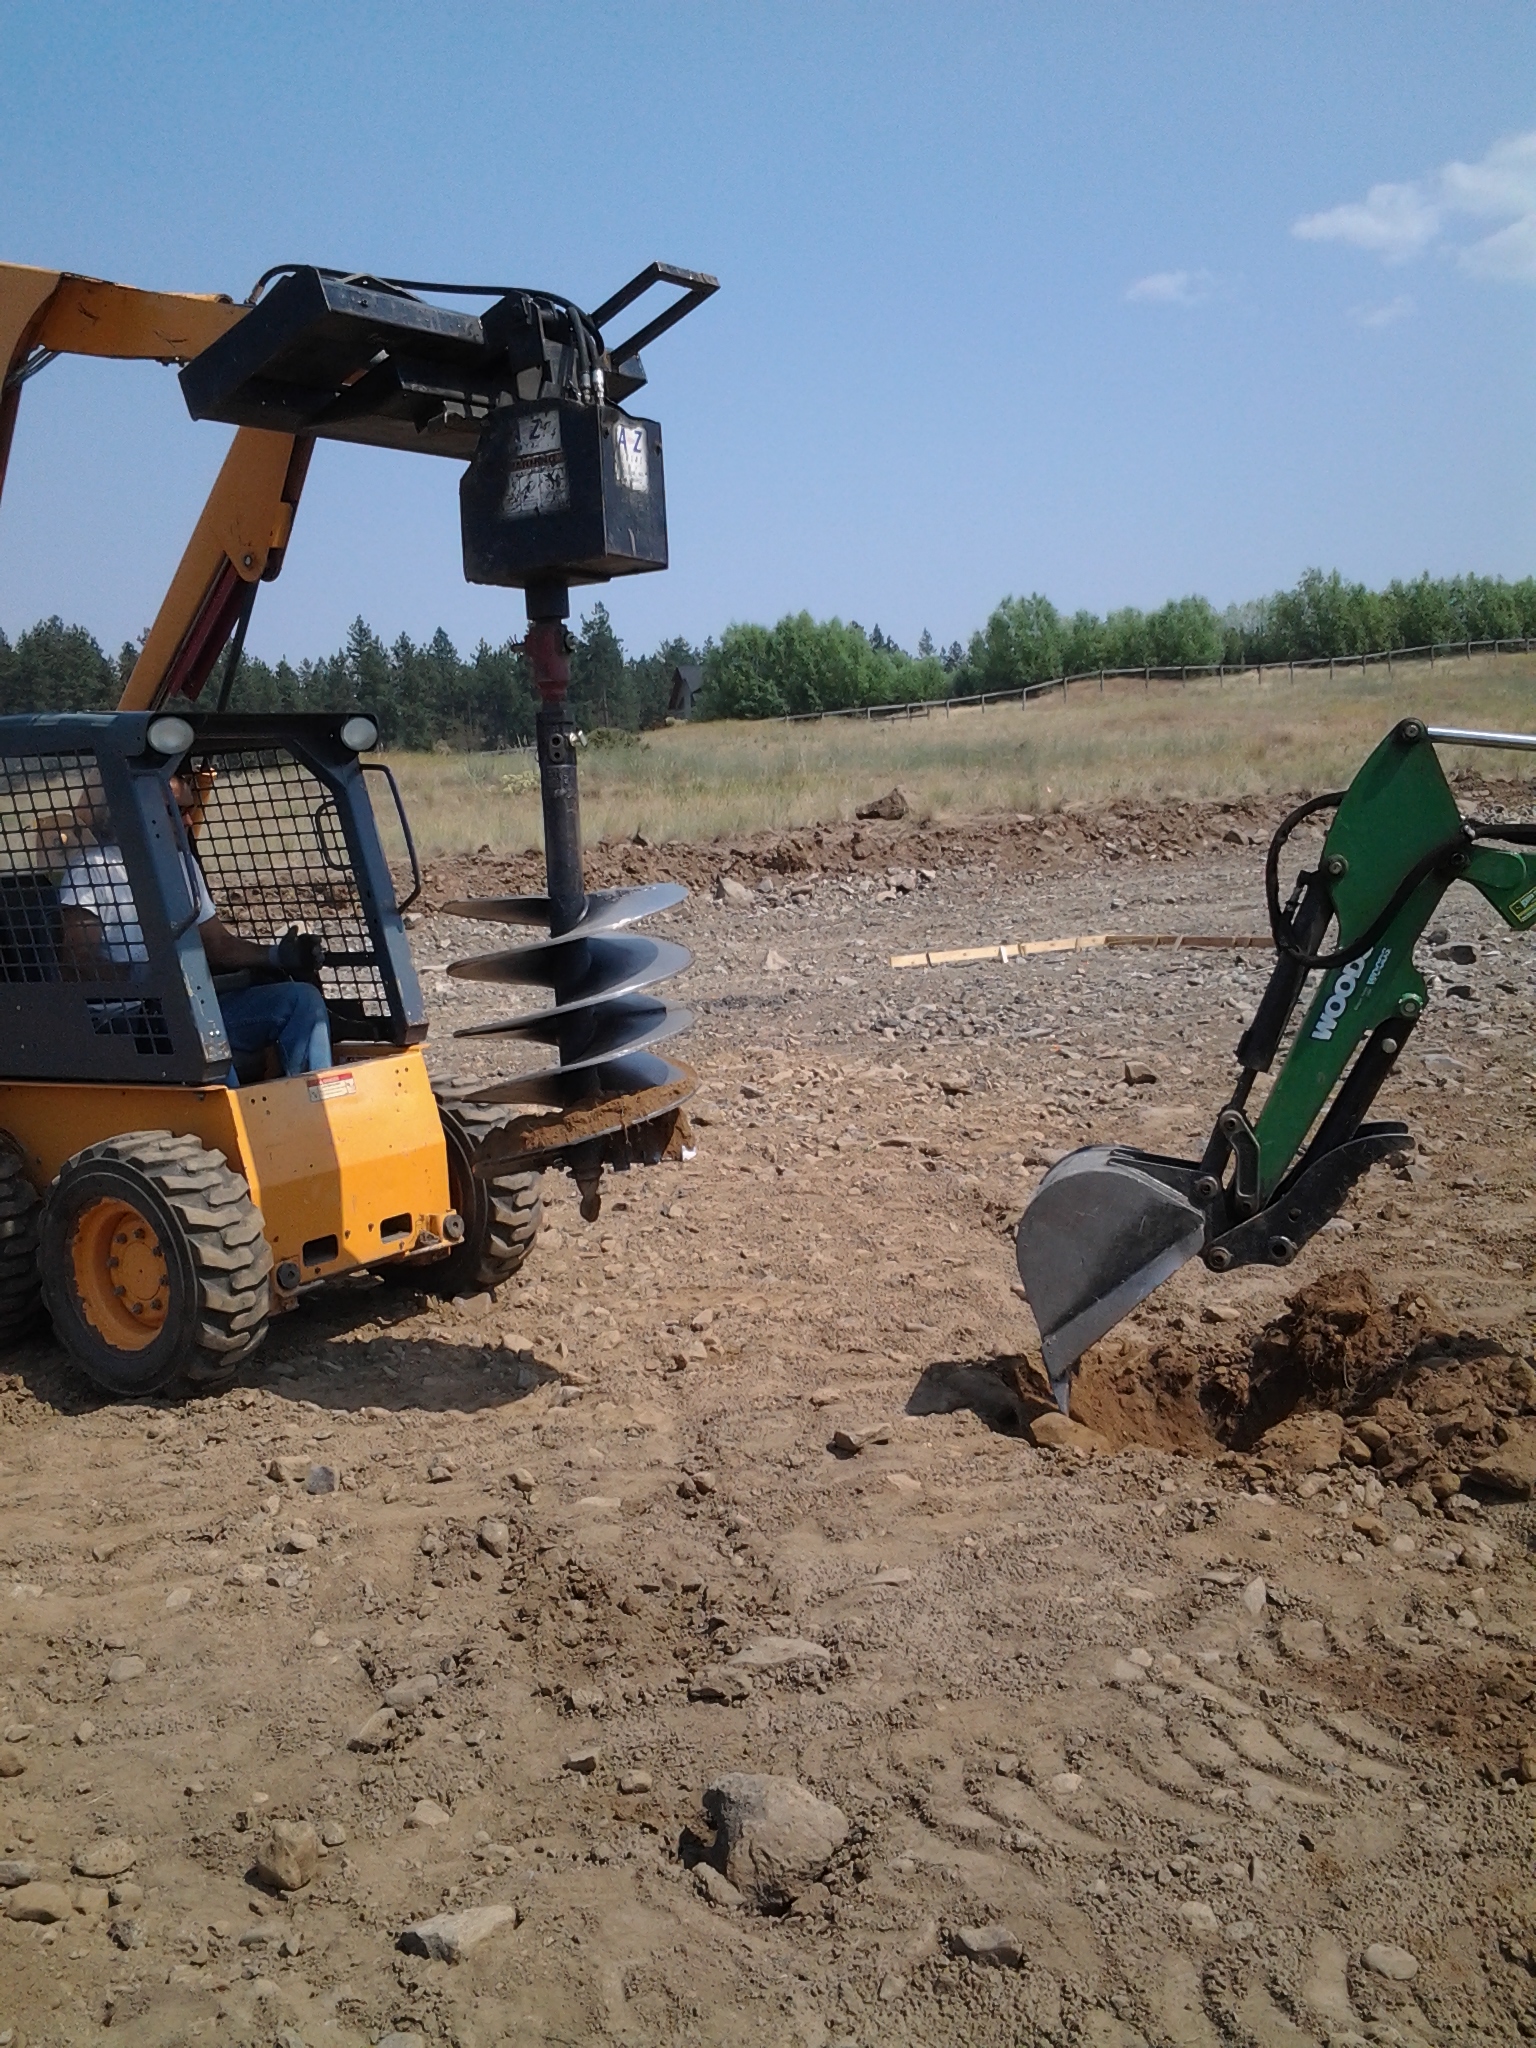
We did some work on our lot, with Pips help and supervision, of course…

SAM_0364

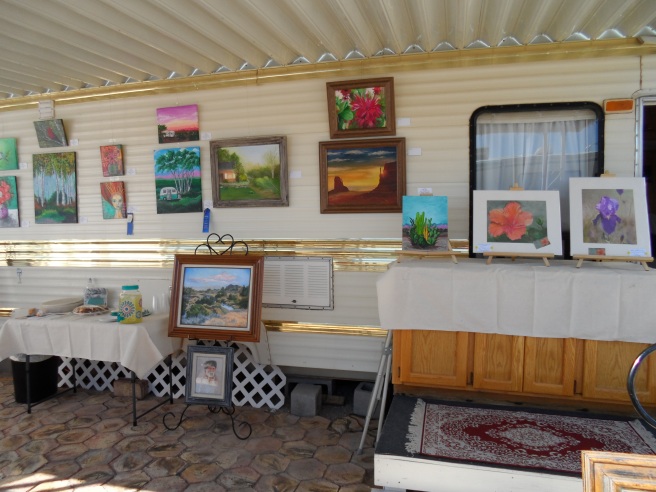
and I participated in an Art Walk.

Phew! That was quite a winter! It was a great trip and a nice break from a grueling summer of building. That brings us up to my next post…

Thanks for visiting!

Next up; A Bit More Catching up…


A Box With A Point On Top…

It’s a running joke between Mr. HT and myself.

” A house is just a box with a point on top.”

It seems like they are complicated, but taken in small bites, not so much. That being said, there are some ways to add more interest, make it all look more appealing. We add wings, clear stories, angles and decks so our space will be more interesting, more a reflection of ourselves.

100_2313

We lifted all the trusses up and set them where each one would eventually reside. This meant one person on each wing and two ropes lowered down for me to tie off to each end of the truss. The trusses were lifted into place then tacked down so they wouldn’t slide off. That’s when we once again lost our help. The next stage was flipping these 20′ long trusses over, 18′ in the air without dropping them or ourselves onto the gravel below. Alone we were able to manage 4. But the scissor trusses, (which will allow our upstairs to have a vaulted ceiling) were just too heavy for us to manage. We called our nephew and asked for help. He agreed to come out for an hour the next morning. That night we brainstormed, trying to think of ways to add leverage to our measly muscles. The next morning arrived and at our nephews suggestion, we tried it unaided by counter weights, ropes or any of the other schemes we had envisioned. Well he is a big boy and sure enough, we did it! The trusses were flipped and lifted into place within the hour!

100_2321

100_2323

100_2324

Thanks Superman!

Alone again, we used a very heavy chain and a come-along to tweak each set of posts into alignment. Remember, we built the wings first so we had something to stand on. Well that left the center section to move freely until we muscled them into place. This took having each truss attached on one end and sitting in a sort of saddle on the other, so it couldn’t jump off. Then we looped the chain around each set of poles, attached the come-along and cranked them together. The loose end of the truss was then nailed into place and the building came together! (Sorry, I was helping with the chain, so no pictures)

100_2326

Pointy side up!

Now for the purlins, that’s rafters to most of us. I can’t go into crazy detail here, but just to give you the visual, about a million tiny little blocks had to be set in place up to the top of each set of trusses, which meant Mr. HT climbing out balancing onto 2″ boards encumbered by a variety of tools then measuring and nailing each one into place. My heart was in my throat the entire time! I did the cutting, hauling and handing up. I think that makes me his tender…

Now we had a another dilemma, even if I could bring myself to climb out on one of those scary high trusses, (and that’s a huge IF!) with Mr. HT up on the other, there was no one to hand up the purlins to be slipped into place. That’s when our niece stopped by for a visit after work. When we told her what we needed, asking if she knew anyone that might like to work for a day, she volunteered to monkey out there herself! Two days in a row, she came after work and helped us hoist almost 100 14′ long 2×8’s, (yes, I was doing the hoisting). We were all super careful and very aware of the precariousness of our positions. I was afraid I would swing the lumber around too hard and push someone off the roof! But we did it and did it with style!

IMG_20141001_171304 IMG_20141001_150647 IMG_20141002_142857

Thanks Wonder Woman!

After that we spent a couple days building the overhangs and sheeting the entire peak. I learned to run a roofing nailer and learned to accept being up high, so long as I didn’t have to get too close to the edge.

100_2338

After another week, we had this! (Ignore the wall, that’s the next post). Thanks for coming by for a visit!

Next up; The roof works…

The skies the limit…

The next stage is building the roof. Unfortunately our luck still hasn’t changed in the hiring help department. So we are going to need get creative in how we accomplish the work of full crew with only the two of us. We decided to build the wings first, so we would have something to stand on while building the taller center portion. The process was complicated and there was a steep learning curve. As usual we improved our efficiency after each section.

IMG_20140914_140045

 A total of 12 of these sections were built on the ground, then raised into place in a four step process that required a lot of coordination, muscle, skill and prayer.

IMG_20140914_141235

They are 16′ by 12′ each and need to have one side lifted 11′ up and the other 18′. Since the tractor can’t reach that high, we lifted one side as high as we could and screwed temporary braces to the poles to hold it in place. Then the tractor was driven around to the other side and used to lift it to level again.

IMG_20140917_085053

Then we built a contraption to extend the reach of the tractor, enabling us to lift it to the final position. Then up the extension ladder and block them in place. 12 times we did this, each time my heart was in my throat for that final lift. Scary and dangerous indeed. We did lose one, it kicked off at an angle and fell to the ground in a loud shattering crash! No one was hurt, and we learned to improve our bracing…

IMG_20140917_105518

It took a total of three days to get all the framing in, then another two to sheath both wings in OSB (oriented strand board).

100_2312

Somewhere along the way we had a couple of strong arms volunteer to heft the trusses for the center section up into position. After a very long week, we were at this stage…

100_2311

The next stage is flipping the trusses over. The pointy side goes up!

Next up; A box with a point on top…

Playing in the mud…

So last Friday we poured concrete. Those in the industry call it “mud”. Kind of a cute name, makes me think of mud puddles and little kids making mud pies. But this is not as fun or terribly creative. The function of the concrete is to just simply hold the posts in place, come hell or high water (at least that’s the hope).

100_2292

Here is hole one, after all the time we took to dig it now we are filling it back up again, there is some kind of irony there…

100_2290

The pour was a total of 15 yards (that’s how they measure concrete) so it took two separate trucks staggered 30 minutes apart. The truck backed in, some chutes were attached and the dumping began. It’s a fairly simple process, all the precision work is done. Just make very sure not to bump anything!

100_2288 100_2295

This little doohickey is called a stinger and it’s sole purpose in life is to vibrate the air pockets out of the wet concrete, I kid you not. Just flip the switch and poke it into the pour a few times. DO NOT BUMP THE POLES!!! Yep, it can actually jiggle a pole out of alignment quick as can be.

100_2298

But we were careful and everything came out just fine. Here they are, ready to sit for a day and cure. There are no chances to change now, the footprint of the building is now…ahem, “set in stone.”

100_2300

This is why the placement and bracing of the posts in our last step was so crucial. EVERYTHING is based on those darn posts, and they are NEVER perfectly straight. Plus they tend to twist and warp when exposed to the sun. So get ’em up, get ’em straight, lock ’em down and build your rafters as quick as you can!

One day off to clean the house and buy some groceries, then the build really begins.

Next up; The skies the limit…

Forget the ten foot pole, try twenty-six…

Next was the delivery of our “kit”. Which is all the lumber, metal and fasteners needed to complete the building. The big truck arrived and dumped everything off.

IMG_20140805_092149

Hopefully this will make more sense as we get into the build. It ends up that our impatience was destine to increase. Our build date came and went with no contact from the builder. We called and were told that he was experiencing delays. Okay, we understand , it happens. So we waited, and waited, and waited. Eight weeks went by, the bulk of the summer, our patience was at an end. Finally the builder came out and basically said that he really didn’t want the project, he was too busy, but since we dug the holes, for an extra $500 over our contract, he would come out and do it…What?!?

Needless to say our answer was no. So we called our nephew, who has built with us before and started on our own. You see, it’s not that we couldn’t do the work, but we had decided that after all the craziness of our selling, packing and moving this spring, we deserved a break. We would actually hire out the heavy lifting, get the walls and roof on fast, then take our time with the interior. But this was not to be. It’s funny, all those years ago, the reason we learned to build in the first place was because we couldn’t find anyone to build for us. It’s been a tough learning curve, but has given us some fantastic opportunities over the years. So here we are, back to doing it ourselves.

IMG_20140805_092157

Now we need to stand twenty-eight poles that are 6″ x 10″ x 26′ long. This is not an easy or safe job. But it can be done with two people, three made it easier. I means cradling the pole between the forks of the tractor and hoping it doesn’t slide out and kill someone as it is slowly lifted into the air. At a certain pivot point, the base of the pole finally drops down into the hole with a heart stopping jolt.

IMG_20140805_100655

We each grab a brace, (a 2×4) and nail four legs all the way around. Then the fine tuning begins. Each pole has a very specific place it needs to be marked by two intersecting strings. This keeps them lined up along all the sides and across from each other so the trusses sit properly.

000_0007

(This one has a long way to go, it should be just barely touching both those strings.) Nudge, nudge, brace, brace…Shift a bit, then loosen brace and shift some more…After all the poles were in, we went around with a level and ladders and double check the placement of each one as it relates to the others. Then some more cross bracing higher up, so the trucks can get through to dump concrete into the holes to set the poles permanently in place.

000_0004

Oh my, but that is much larger than I envisioned when we drew it up on paper!

000_0002

000_0001

000_0006

Tomorrow we pour concrete!

On another note, I mentioned the little house we bought to stay in and fix up while we are building our dream? Well we are living there now and started a remodel in the two months we were waiting for the contractor. Here are a few pictures of our other work in progress.

IMG_20140729_184333IMG_20140727_171537 IMG_20140727_171523 IMG_20140727_141355

It looks worse than it is, everything is actually fully functioning. I have a bathroom, kitchen, bedroom and a section of a living room. We are adding a second bath in the upstairs, so won’t demo the original until it’s done. It’s never fun living in a construction zone, but the last two times we were CAMPING while we built, so this is borderline luxury! Oh and I found this little sweetie in the alley behind our house.

IMG_20140821_092650-1

He was still pretty wobbly and there was no sign of his mama or litter-mates. Love at first site, now I am bottle feeding his adorable self…

Next up; Playing in the mud…

The truth, the hole truth…

We quickly became impatient, waiting for the company we contracted with to do the heavy lifting. So we decided to dig the 24 holes all on our own. They each needed to be 2’x2′ and 3′ deep. We rented this a very impressive skid steer…

 IMG_20140716_083935

with this massive auger attachment.
IMG_20140716_124828
We quickly realized this wasn’t the right kind of digging equipment for our soil. Hah! Soil in only the loosest sense of the word! What we have is rocks, rocks and more rocks. With a bit of gravel mixed in to make things interesting. Lots of banging, bouncing and chattering occurred, but little actual digging. I spent the better part of the day alternating between running the skid steer and auger, (my first time and super nervous) and jumping down into the holes to break loose yet another boulder. Hubby had to use the back hoe to lift said boulders up and out. After struggling in the blazing heat for over six hours, we only had three holes to show for our efforts. At this rate we would be digging until frost! That’s when we realized we had miscounted and needed 28 holes, not 24. That was down right demoralizing. I even smashed my finger …I admit, I cried.

IMG_20140722_100533

But we soldiered on and at the end of four grueling days, we were done! Four rows of seven holes all lined up and ready for posts and concrete. We called for an inspection, which amounted to the building inspector driving out, looking at the holes and saying, “Yep, those are holes.” So glad we established that!

IMG_20140716_142918

And because this is also meant to be a artist blog about living a creative life, I will share the tiny bit of art I have been able to do over the course of the last few weeks. Please be patient, creativity requires energy, which I am sadly lacking at the moment. I have been trying to work in more portable mediums lately, with all the moving, building and waiting, it seemed the smart way to go. I have no space to set up a studio, so an easel and totes full of paints and brushes are out of the question.

000_0001 000_0002

Both these drawings are done on watercolor paper using a permanent pen. I did this so I could play with the next step, color. The street scene colors were filled in loosely using Tombow Dual Brush Pens. After I went over each color using a Niji Waterbrush. (I love the convenience of this brush with it’s own water reservoir). I found I could create some lovely watercolor effects this way, but have the preciseness of a marker. I intend to color the cat drawing as well, but thought I would scan it in to my computer first as is, so I can try a bit of computer painting in GIMP or Art Rage. Both drawings are influenced by my recent interest in Zentangle, an art form I highly recommend you look into. It’s portable, soothing and fun!

http://www.zentangle.com/

Next up; Forget the ten foot pole, try twenty six…

Ground Breaking Tribulations…

We hired a dozer to break ground on our new property. It didn’t take long to realize we were in trouble. There is just the thinnest layer of soil covering a huge deposit of rocks and boulders. Every scoop turned up granite, basalt and petrified wood. I picked up a few choice pieces of the later and cursed the former. We had hoped to keep as much of the grounds natural as we could, but it just wasn’t possible. To level off the land enough to build as well as create a driveway large enough to turn an RV around, we had to move a lot of material. This…

100_2263

Has become this…

100_2269

At this point it is difficult to hold the vision…

Green on light stone front

Here is a computer mock up of our dream. Small living quarters in a large RV support building. I am looking forward to simple living, but it seems very far away right now. In the mean time, we have finally closed on a small house in the city, a little fixer for us to stay in and work on while we wait for silly delays like inspections, deliveries and some hired muscle to help lift the heavy poles into place.

IMG_20140703_164915

But that’s a story for another time. Thanks for visiting!

Next up: The truth, the hole truth and nothing but the truth…

Packing, purging and starting all over…

Hubby and I recently sold our largish family home and moved to the city to be close to family. With the kids both launched and our rural location, things were getting pretty quiet.                                          ernie robinson view

With a view like this, it was nearly impossible to leave.

But we did it, we spent the better part of two months packing and purging, with the ultimate goal of divesting ourselves of 75% of our worldly goods.

full garage 1

It was a very trying time. Every nook and cranny in the house needed to be opened, emptied and sorted. The minutia of everyday life examined and judged. Is it useful, valuable or sentimental enough to make the cut? I sold things, gave things away and threw a ton away. My mantra throughout this process was this;

“Have nothing in your house that you do not know to be useful, or believe to be beautiful.” William Morris

That being said, I had a lot of useful and beautiful stuff. So I had to add these criteria as well;

“Do you have more than you need of it?”

“How much do you like to dust?”

This last one helped eliminate the bulk of the “pretties”. They look awful covered in dust and they can’t be admired or enjoyed if they are stowed in a box, so out they went! The items, and there were many, that gave me a heart clench when I looked at them, I would think of someone I know that could use them and love them and that always seemed to ease the pain. It’s very tough work and I am exhausted. The remaining items were donated to a local wildlife rescue for their annual fundraiser. It really helped to  know things were going to a good cause. I just kept reminding myself; it’s just stuff and it’s always easy to accumulate more..in fact I believe mine may have been breeding on it’s own, because there were some things turning up that I swear I have never seen before!

100_2172

 Through all of this, spring came and went. I never had a chance to set the garden to rights or say a proper good-bye. As we were hauling the final load out through garage, the new owners were hauling their things in the front door. I left with a feeling of things left undone and a certain amount of anxious dislocation. I am still suffering the effects of transplant shock, and if you think that doesn’t happen to people, I am here to say it most certainly does!

While we were shuttling the things we did keep into a storage unit in the city, we were looking at properties. We wandered everywhere, weighing the travel distances against our natural inclination to live outside of earshot of any other human being. (we lived in the country a really long time). So when this parcel showed up on our radar, we grabbed it.

100_2263

10 acres all to ourselves and only 5 minutes to a grocery store! After more than 20 years of having the nearest store being a 20 mile round trip, it’s a dream come true.

Next up: Ground breaking tribulations…

Hello!

Welcome to my new blog. I have been away from blogging for a couple years and it feels good to be back.

In a nutshell, this blog will be about all things creative. Not just making art but sewing, cooking, remodeling and upcycling. We will play with homemade soaps and toiletries, handcrafted gifts and homemade cleaning supplies. I will try to gather some fun ideas out of my own head and from around the web and break them down here into easy step by step instructions. But above all this will be done in a playful, supportive and inspiring atmosphere. Perhaps even a bit silly, irreverent and blunt. Feel free to ask questions.

More soon to come, thanks for coming. Sally Rose